
How to Dry A Long Round Spindle
Turning Blank for Woodturning
I have some ideas for long round turning blanks, spindle blanks that can apply to a variety of woodturning projects. I’m basically taking a straight branch about 3 to 4 inches wide and turning off the bark and some or all of the sap wood from the piece leaving me a round blank at about 3″ plus wide ….it could be 12″ long or 30+ inches long. I will also take bigger branches and end up with a long round turning blank that is at least 5 inches plus wide.
What Are Long Round
Spindle Blanks Used For?
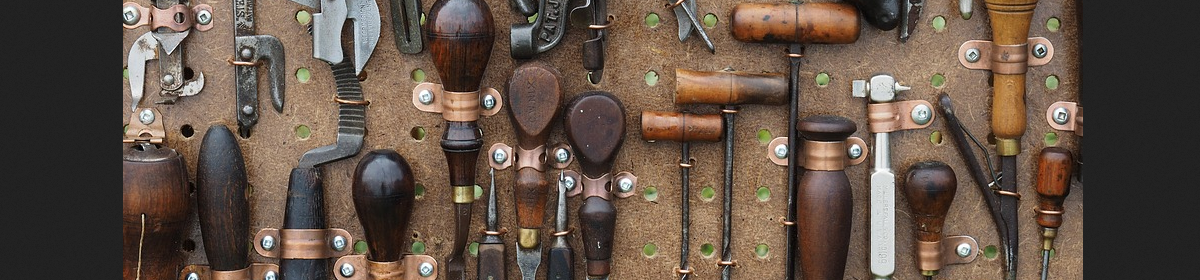
I can use these blanks for:
tool handles
bats
billy clubs
fish bats
rolling pins
noodle cutters
spaghetti cutters
handles
vases
cups
You get the idea, a long round rod shaped piece of wood. I turn the blanks and dry them. I store the blanks and when I’m ready for a project I select the dried blank and turn the project. Cracking and checking can be a problem depending on the wood species.

Most Long Round Blanks Crack
My problem has been most of the wood I have turned has been very wet. I tried turning and setting on a shelf only to have them crack, at least one good crack. That’s OK, I just fill with epoxy and coffee grounds or just epoxy and color after it has finished drying and re-turn the piece.

I’d rather not have to go through that process for each bat type blank know as a type of spindle blank. So the problem I have is how do I dry the piece and not have it crack. I realize each piece is normally a branch and has the pith through the middle so I need to do a slow, very slow dry. But I’ve even experienced the cracking in non-pith pieces.

How To Build A Drying Cage
I had an idea on how to dry these long round woodturning blanks.
Why not just dry them in shavings and sawdust like woodturning bowl blanks? So I laid a few of the long round turning blanks on the floor in a pile of shavings. Left them there for a week, I kept tripping over them. They were in the way of my workspace but when I uncovered them they were without cracks!
The Horizontal Long Round
Blank Drying Cage
Since I didn’t have any paper bags big enough to hold the long round spindle turning blanks I thought I would have to build something to hold the blanks and shavings but would also let air flow through so the wood blanks would dry. I thought of taking a large piece of pvc pipe and drill a bunch of small holes and fill it with shavings but that would only hold one maybe two blanks and I’d have to drill a million or so holes ….not a good idea.

The I thought, what if I took some wire window screen and built a long horizontal cage? Simple enough, wrap the screen around a circular piece on the bottom and one on the top with a hole in it. You can make it any size. Make smaller cages for small long single round spindle blanks, make bigger cages 12″ or 16″ wide or more for multiple long round blanks.
Staple the screen to the circular bottom piece and top piece. Add 2 long horizontal stretchers to attach the screen to and hold it up. Place your blanks in the cage and fill it with shavings and sawdust. Place your vertical drying cage in an area to dry …..done deal!
It’s not rocket science 🙂 I built one with an 8″ diameter base. I wish I would have made it 12″ but I think I will make a handful of these drying cages because I’m sure this will work. I did a quick video in case my words aren’t making sense.
I loaded up 3 fairly large long round spindle blanks. First I weighed each blank. Then loaded into the cage and filled with shavings and sawdust. The heat is still on in the shop and I placed the cage as high as I could ……I will re-weigh the blanks after 2 or 3 weeks and see how it works.
Should have Sealed The Ends of The Woodturning Blanks
As I think about it now …..I should have sealed the ends of each blank with wax, paint or anchor seal. I can’t believe I spaced off and didn’t do that ….maybe I will dump the cage and seal the ends of each long round woodturning spindle blank ….they’ve only been in for a couple of days!
Drying Results
I will either edit this post, do another article and/or post in the Wood Turning Basics facebook group the results of my drying cage …stay tuned!

 This is probably old news for you experienced turners, however, if you are new or learning the tricks of the trade for woodturning watch what tools he uses, pay attention to the type of cut whether scraping or slicing. That’s what I’ve done since I started wood turning…..just watched and payed attention to what an experienced wood-turner did …..how he did it and just tried to duplicate their efforts.